- A+
所属分类:工具资源
之前用的军哥LNMP安装过Nginx目录文件列表的美化皮肤Fancyindex,这两天在宝塔面板上研究了下,之前搜索了几篇都没有成功。因为选的是一键极速安装LNMP组件,后来换成编译安装就成功了,比军哥的LNMP更简单。
首先,安装完宝塔面板后别急着一键安装LNMP环境。先把Fancyindex下载下来
git clone https://github.com/aperezdc/ngx-fancyindex
然后去后台软件商店安装Nginx,安装的时候选择编译安装,然后添加自定义选装模块
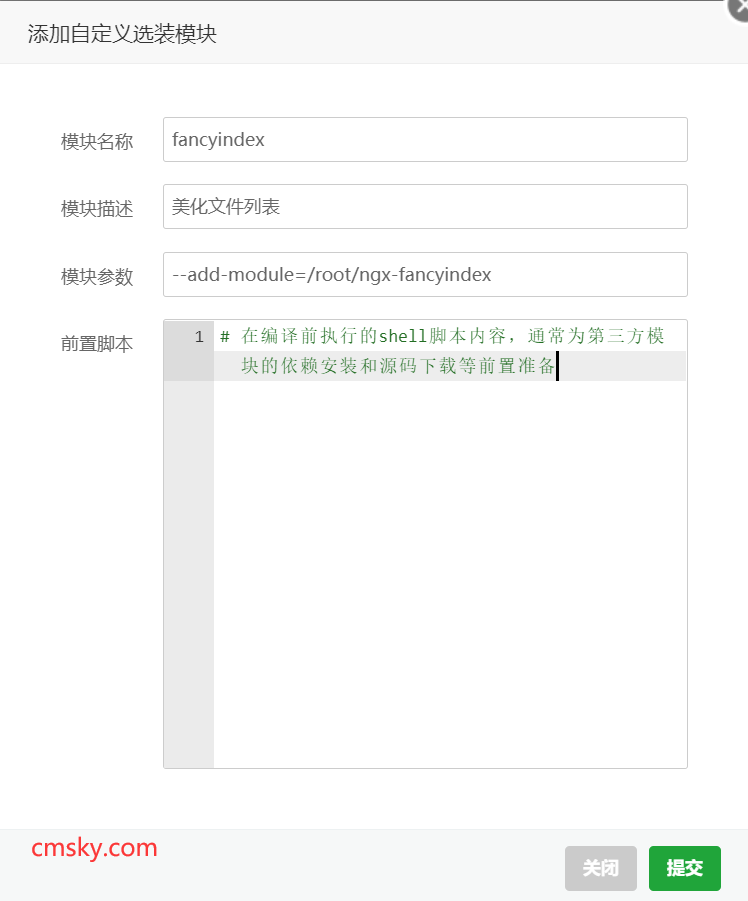
在模块参数那里填上--add-module=/root/ngx-fancyindex,然后点击提交,勾选,开始编译。
完成以后在VPS里用Nginx -V命令查看一下,是否编译成功了。
最后,开启Fancyindex列表,在网站的配置文件里开启就行了。
location / {
fancyindex on;
fancyindex_exact_size off;
fancyindex_localtime on;
fancyindex_footer "/footer.html";
fancyindex_ignore "footer.html";
}
记得重载Nginx配置文件。
切记 ./configure --add-module=/www/server/nginx_plug_in/ngx_http_ggle_filter_module 是不对的。
./configure 在宝塔里面是多余的,编译会出问题,不要再写。
参数解释:
fancyindex on:开启fancy索引
fancyindex_exact_size off:不使用精确的大小,使用四舍五入,1.9M会显示为2M这样.如果开启的话,单位为字节
fancyindex_localtime on:使用本地时间
fancyindex_footer /footer.html:把网站根目录下footer.html内容作为底部.文件不存在底部会出现404

我的微信公众号
我的微信公众号扫一扫
